A Comprehensive Guide on How to Install Decking in New Zealand
Step-by-Step Deck Installation & Expert Tips
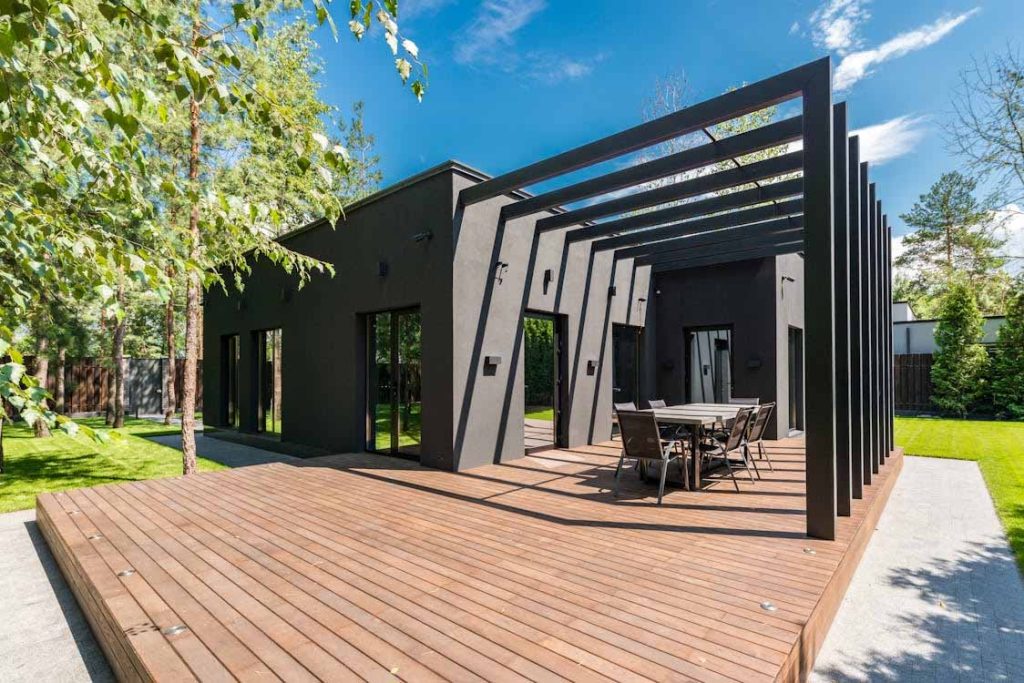
Transforming your outdoor area with a well-designed deck adds usable living space, boosts property value and gives you a sunny spot for Sunday brunch. This guide walks Kiwi DIYers through every stage of decking installation, from the first string line to the final coat of oil. We focus on local conditions, NZ Building Code rules and the materials readily available at your nearest timber merchant.
Table of Contents
- Understanding Decking Types
- Planning Your Project
- Essential Tools and Equipment
- Preparing the Site
- Building the Substructure
- Laying the Decking Boards
- Finishing Touches
- Ongoing Maintenance
- Frequently Asked Questions
1. Understanding Decking Types
| Type | Key Features | Suitability |
| Timber decking | Natural grain, easy to cut, classic look | Great for character villas and bush sections |
| Composite decking | Blend of recycled plastic & wood fibres, colourfast | Coastal sites needing low maintenance |
| PVC boards | Fully synthetic, very light | High-humidity spots or spa surrounds |
Hardwood vs Softwood
Hardwoods like kwila or garapa resist dents, while treated timber pine is lighter on the wallet but needs re-oiling every 18-24 months.
2. Planning Your Project
- Measure your proposed platform, marking length and width with stakes and twine.
- Check deck height. Under 1.5 m usually avoids a full consent, yet any platform over 1 m needs a compliant railing.
- Sketch a scale drawing including bearer spacing, deck joists and post positions.
Allow for at least a 900 mm clear path around patio doors so the deck feels spacious.
Budgeting
Price up boards, fixings, concrete and finishes. Remember that composite may cost more up front, yet saves years of sanding.
3. Essential Tools and Equipment
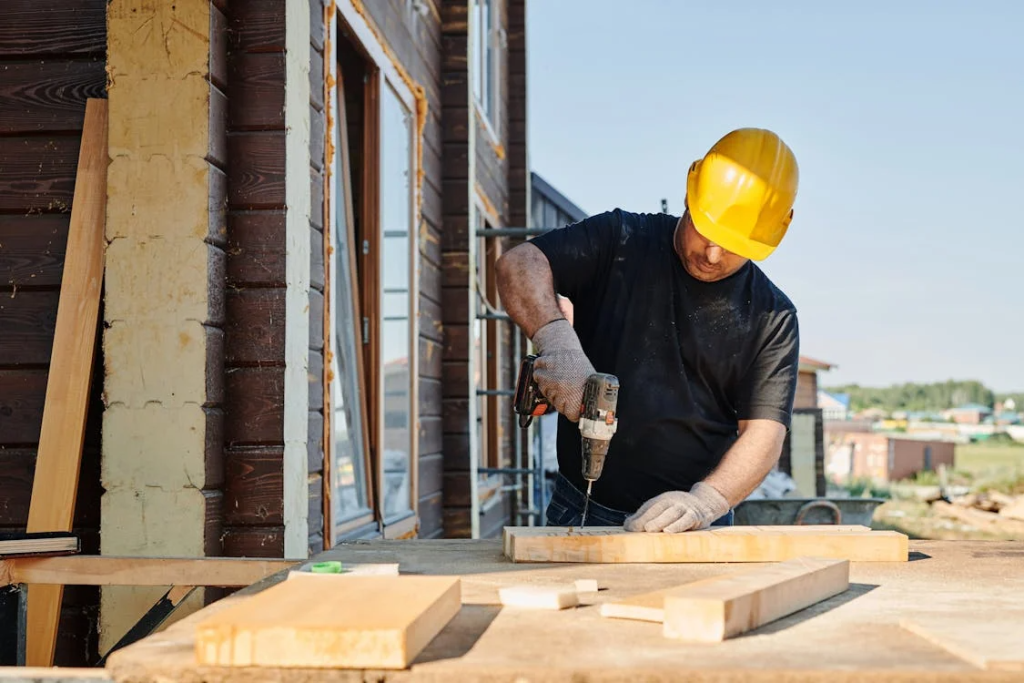
- Circular saw for trimming each board
- Cordless drill with driver bits for decking screws and pilot holes
- Spirit level and laser to keep the deck frame dead flat
- Post-hole spade for digging support holes
- Safety gear: glasses, ear muffs, gloves
Having the correct gear shortens every step and delivers a professional result.
4. Preparing the Site
Clear vegetation, rake level, and compact the soil. Lay weed-mat if kikuyu grass is rampant. Set out the perimeter again with a taut line for pinpoint accuracy.
5. Building the Substructure
Posts, Bearers & Joists
- Dig 300 mm-wide holes at 1.8-2.4 m intervals.
- Drop H5 posts, pour concrete and true them vertically.
- Bolt H3.2 bearers to posts using 12 mm galvanised coach screws.
- Fix joists at 400 mm centres; double up joists under heavy load zones such as barbecues.
This hidden substructure must be square, level and rigid before a single board goes down.
6. Laying the Decking Boards
- Start from the house and lay decking toward the yard.
- For pine, leave a 3 mm gap; composite needs 5–6 mm for expansion.
- Secure every board with two stainless fasteners or hidden clips per joist.
- Use colour-matched decking screws so the surface stays sleek.
Keep airflow under the deck by raising the lowest deck joists at least 100 mm off the soil.
7. Finishing Touches

- Sanding the edges gives a splinter-free feel.
- Flood-coat timber with penetrating oil; for composite decking, a simple wash is enough.
- Fit fascia to hide the frame ends and install LED riser lights if stairs are part of the design.
8. Maintenance Tips
| Task | Frequency | Notes |
| Light scrub & hose | Twice a year | Mild detergent only |
| Re-oil timber | 18-24 months | Extend colour life |
| Tighten loose screws | Annually | Stops squeaks |
| Inspect posts & joist hangers | 3 years | Replace any rusted steel |
Regular care keeps the deck safe and looking sharp.
Frequently Asked Questions: Deck Installation NZ
1. How high can my deck be without consent?
Under the NZ Building Code you can usually build a platform without consent if the finished deck height is 1.5 m or less above ground at every point. Still, there are exceptions. If any part of the deck forms part of a pool barrier, you must apply for consent no matter the height. On a sloping section, the council may measure the fall from the lowest excavated point—so your deck could exceed the limit even when it seems low at the front edge. Neighbourhood planning rules on the North Shore sometimes add yard-setback or site-coverage limits as well. A five-minute call to the duty officer or submitting a Schedule 1 exemption request is the safest way to confirm you are in the clear before ordering timber.
2. Which fastener is best for coastal New Zealand decks?
Salt spray chews through mild steel, so opt for 316-grade stainless screws for fixing decking boards and hot-dip-galvanised coach screws or bolts when you secure bearers to posts. Stainless outlasts galvanised nails, prevents tea-staining on the timber surface and keeps the substructure rigid. Always pre-drill in hardwood, countersink every screw so no sharp edges remain and stick with the proprietary hidden-clip system if you are using composite decking. Mixing cheap zinc screws with stainless clips can set up galvanic corrosion that stains the timber and weakens the fixing.
3. Can I paint or stain composite boards if I change colour scheme later?
You can, but you probably should not. Most composite-decking makers void their 25-year fade warranty once you coat the boards. The polymer cap on capped composites is designed to repel spills, so paint has trouble bonding and often flakes where foot traffic is heaviest. Composites also expand more than wood, which can crack rigid paint films. If you are desperate for a new shade, use a specialist water-based acrylic made for PVC surfaces and test an off-cut first. A better solution is to swap out a few accent boards or add a contrasting handrail to refresh the look without giving up the factory finish that makes composite low-maintenance.
4. What spacing should I leave between decking boards?
Gaps must allow drainage and seasonal movement. For kiln-dried pine leave about a three-millimetre side gap because the boards will swell in winter. Air-dried hardwood such as kwila needs roughly four millimetres because it moves less once it is oiled. Composite decking expands the most; most brands specify five to six millimetres side-to-side and three to four millimetres at the ends for board lengths under three metres. Always check the supplier’s cold-weather chart if you are building in Southland or Central Otago—an extra millimetre prevents compression when summer heat arrives. Using plastic spacers or a 5 mm plywood off-cut as you lay the boards keeps every gap consistent and the finished surface looking truly professional.Ready to turn your plans into a stunning, code-compliant deck without the guesswork? Chat with a deck specialist today. Book a free site visit, fixed-price quote and personalised advice in one easy step.